How to Harvest Garlic (and Cure It for Long-Term Storage)
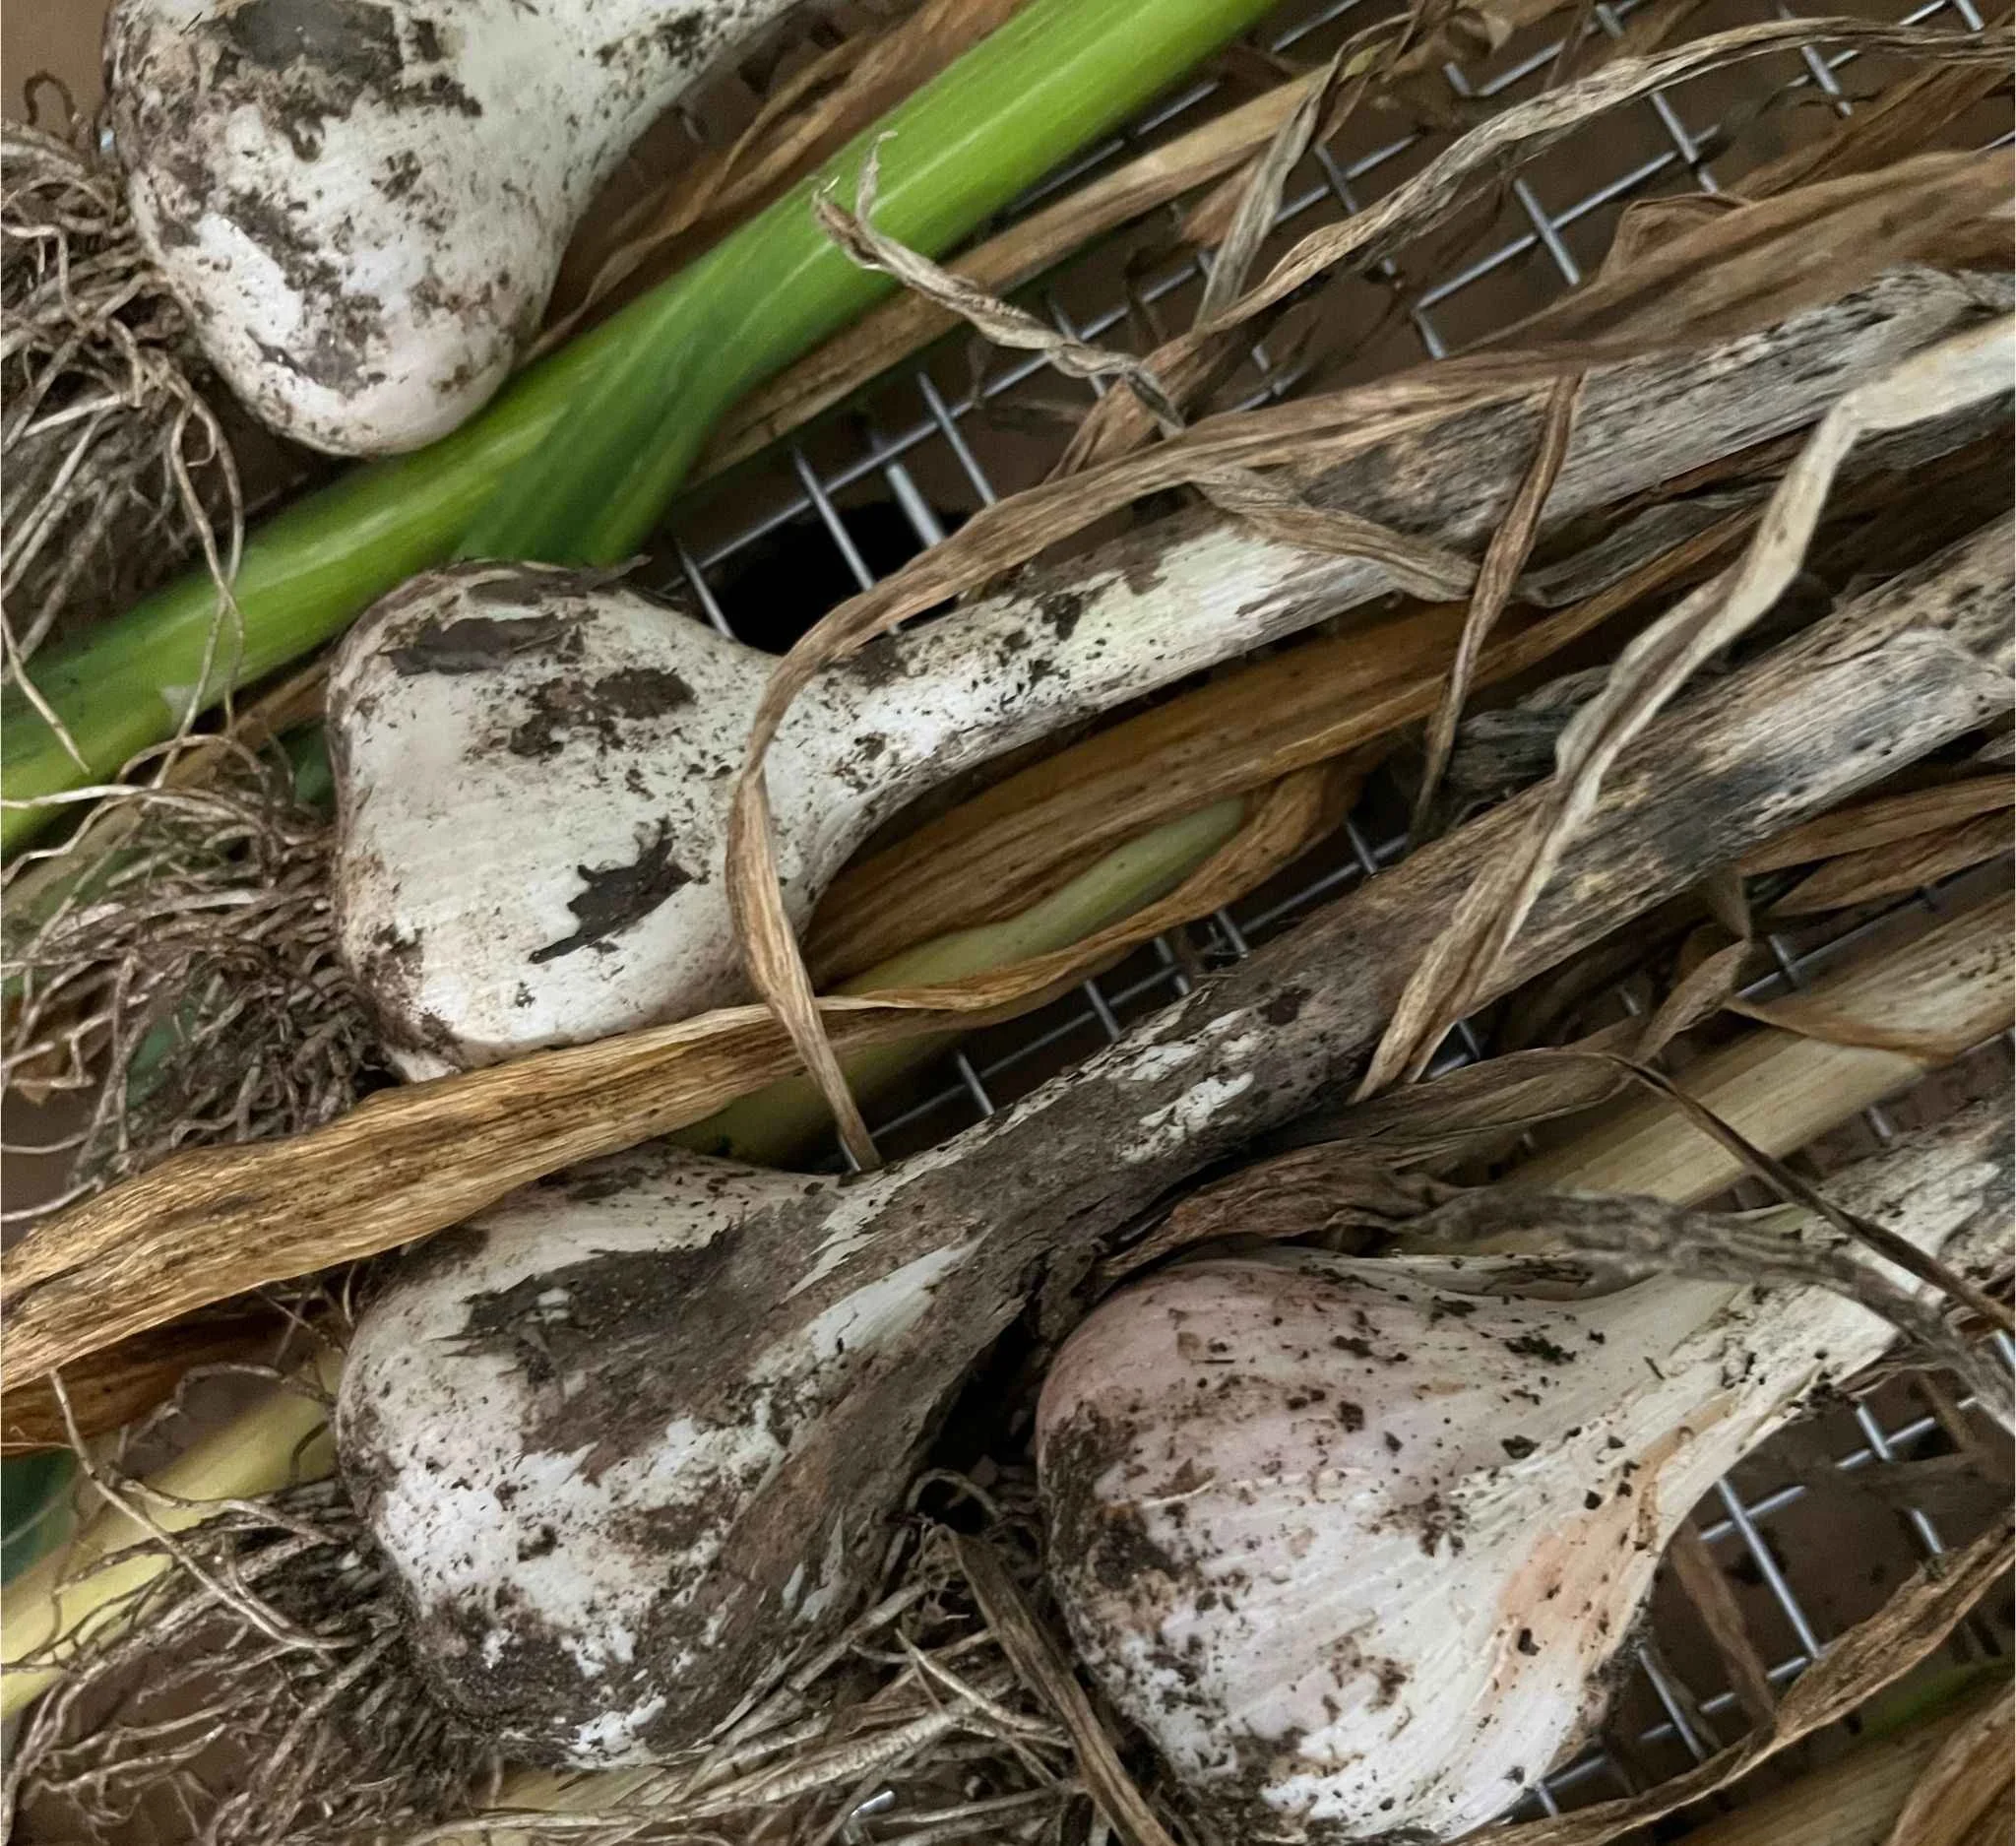
Hardneck garlic curing
From garden to pantry: when and how to harvest garlic for the best flavor and shelf life.
There’s something magical about pulling up a beautiful bulb of garlic that you planted last fall. Garlic is one of the most rewarding crops to grow—low-maintenance, cold-hardy, and packed with flavor. But timing your harvest right is essential to get full-sized, flavorful bulbs that store well through the year.
In this post, I’ll walk you through how to know when garlic is ready to harvest, how to dig it up properly, and how to cure and store it for long-lasting use. I’ve also linked my YouTube video at the bottom of the post if you prefer to see the process in action!
🌿 When Is Garlic Ready to Harvest?
Garlic is usually ready to harvest 7–8 months after planting, typically in mid-to-late summer, depending on your zone. But you’ll want to pay close attention to the leaves—they’ll tell you when it’s time.
👉 Watch for this key sign:
When the bottom 3–4 leaves have turned brown, and the top few are still green, it’s go time! Each green leaf correlates to a paper wrapper around the bulb—so the fewer green leaves, the fewer protective layers your garlic will have in storage.
If you harvest too early, the bulbs will be small and immature. Wait too long, and the cloves may start to separate and split the bulb, which shortens storage time.
💡 Pro tip: If you’re not sure, gently dig up one bulb and check it. You should see distinct, plump cloves forming a tight head.
🧄 How to Harvest Garlic Without Damaging It
Garlic bulbs sit low in the soil, and yanking them out by the stem can cause damage. Here’s the best method:
Use a garden fork or shovel to loosen the soil about 4–6 inches away from the plant.
Gently lift the bulb from below, avoiding direct contact with the bulb itself.
Brush off loose dirt, but don’t wash them—wet garlic can rot more easily in storage.
🌬️ How to Cure Garlic
Curing is the drying process that prepares garlic for long-term storage. Skip this step, and your garlic will spoil quickly.
To cure garlic:
Lay bulbs in a single layer in a well-ventilated, shady, and dry area (like a shed, garage, or covered porch).
Leave the stems and roots attached.
Cure for 2–4 weeks, or until the wrappers are papery and the necks are fully dry.
Avoid direct sun, which can damage the bulbs and reduce shelf life.
🧺 Storing Garlic for Months of Use
Once cured:
Trim roots and cut stems to about 1 inch (or braid softneck varieties for hanging).
Store in a cool, dark, and dry place—ideally around 60°F with good airflow.
Avoid refrigerators, which can encourage sprouting.
Properly cured and stored garlic can last for 6–9 months, and even longer in ideal conditions.
💡 Pro tip: Soft-neck varieties tend to store longer than hard-neck varieties. I will often grow both. In all honesty, garlic doesn’t last very long in my house, because we use it fairly quickly.
🔗 Watch the Process on YouTube
Want to see exactly how I harvested and cured my garlic? Check out the video here:
👉 https://youtu.be/RXEGsSgT2n4
🧄 Want to know why garlic is more than just delicious?
Check out this post on the powerful health benefits of garlic — including how it may support heart health, immunity, and even help fight cancer.
Thanks for reading! Ready to take your plant-based lifestyle to the next level? Discover personalized coaching, workshops, and more on my Experiences page.