
Growing Your Own Sprouts: A Tiny Habit with Big Impact
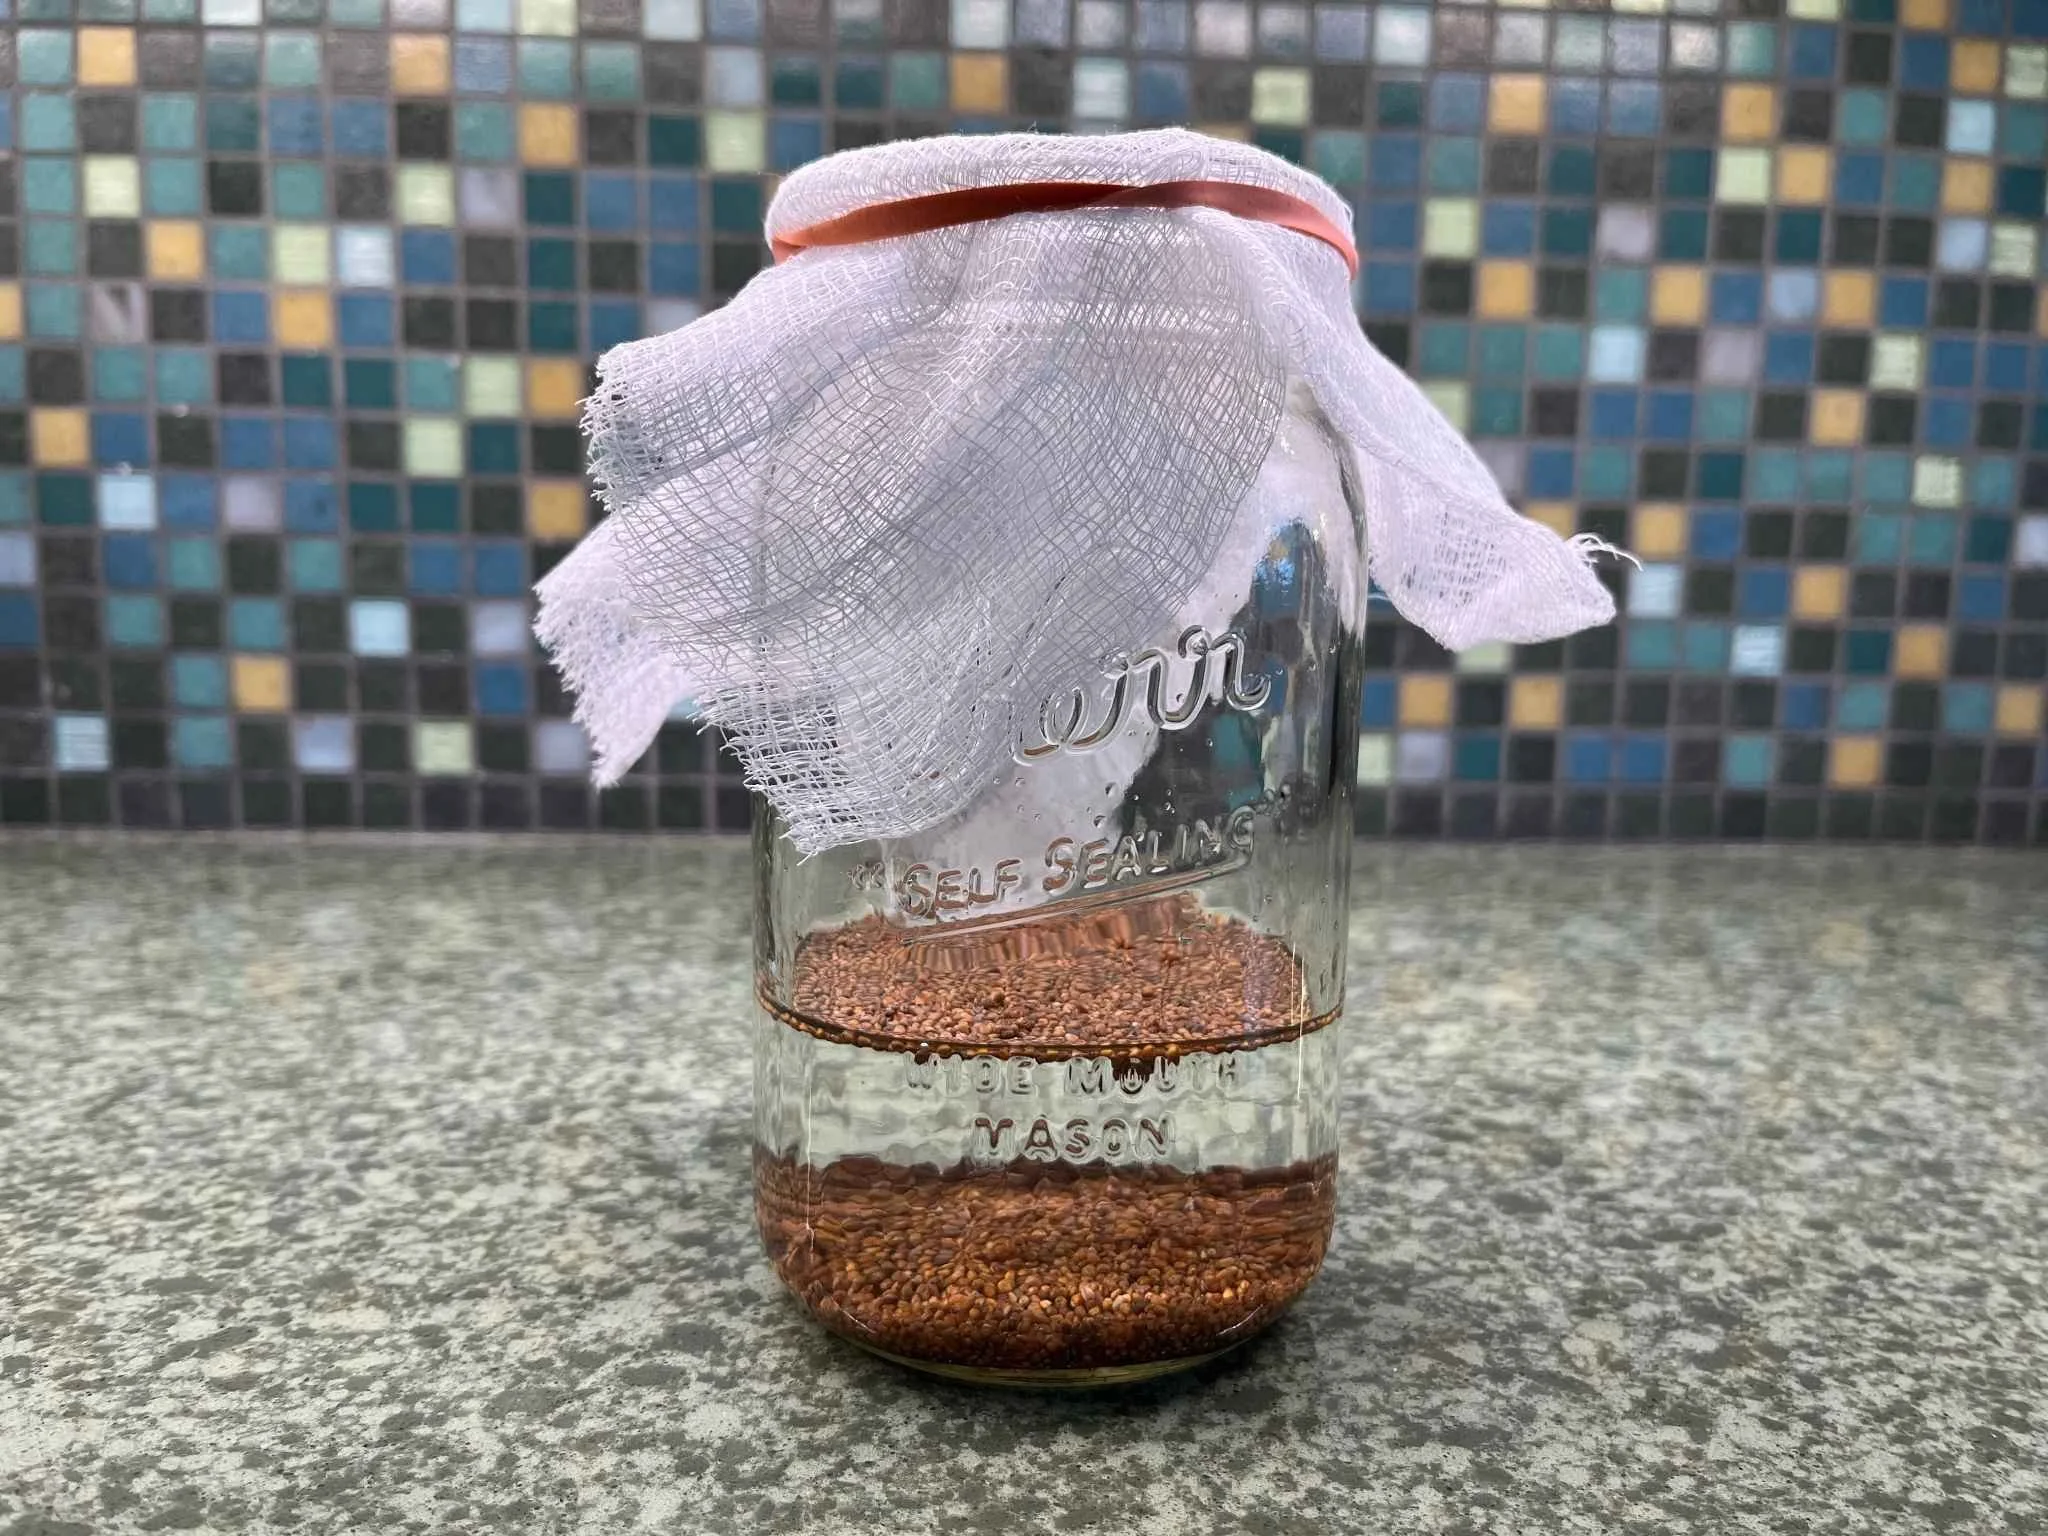
Arugula sprouts during initial soak.
There’s something deeply satisfying about growing your own food — even if it’s just in a mason jar on your kitchen counter.
Sprouting is one of the simplest ways to add freshness, texture, and concentrated nutrition to your meals. No garden. No fancy equipment. No green thumb required.
Just seeds, water, and a few minutes a day.
Why Grow Sprouts?
Sprouts are young seedlings harvested just a few days after germination. During the sprouting process, seeds transform dramatically.
As they begin to grow:
Enzyme activity increases
Certain vitamins become more bioavailable
Antioxidant levels rise
Compounds that can block nutrient absorption (like phytic acid) decrease
In many cases, sprouts contain higher concentrations of certain nutrients than their fully grown counterparts.
One standout example?
Broccoli sprouts.
Broccoli sprouts are especially rich in sulforaphane, a powerful plant compound studied for its role in supporting detoxification pathways, cellular protection, and overall health. In fact, young broccoli sprouts can contain significantly more sulforaphane precursors than mature broccoli.
Small plant. Big potential.
What You Need
Sprouting at home is refreshingly uncomplicated.
Equipment:
A wide-mouth mason jar
A sprouting lid or cheesecloth secured with a rubber band
Clean water
Sprouting seeds (broccoli, alfalfa, lentils, mung beans, radish, etc.)
Make sure you purchase seeds specifically labeled for sprouting, as they are tested differently than garden seeds.
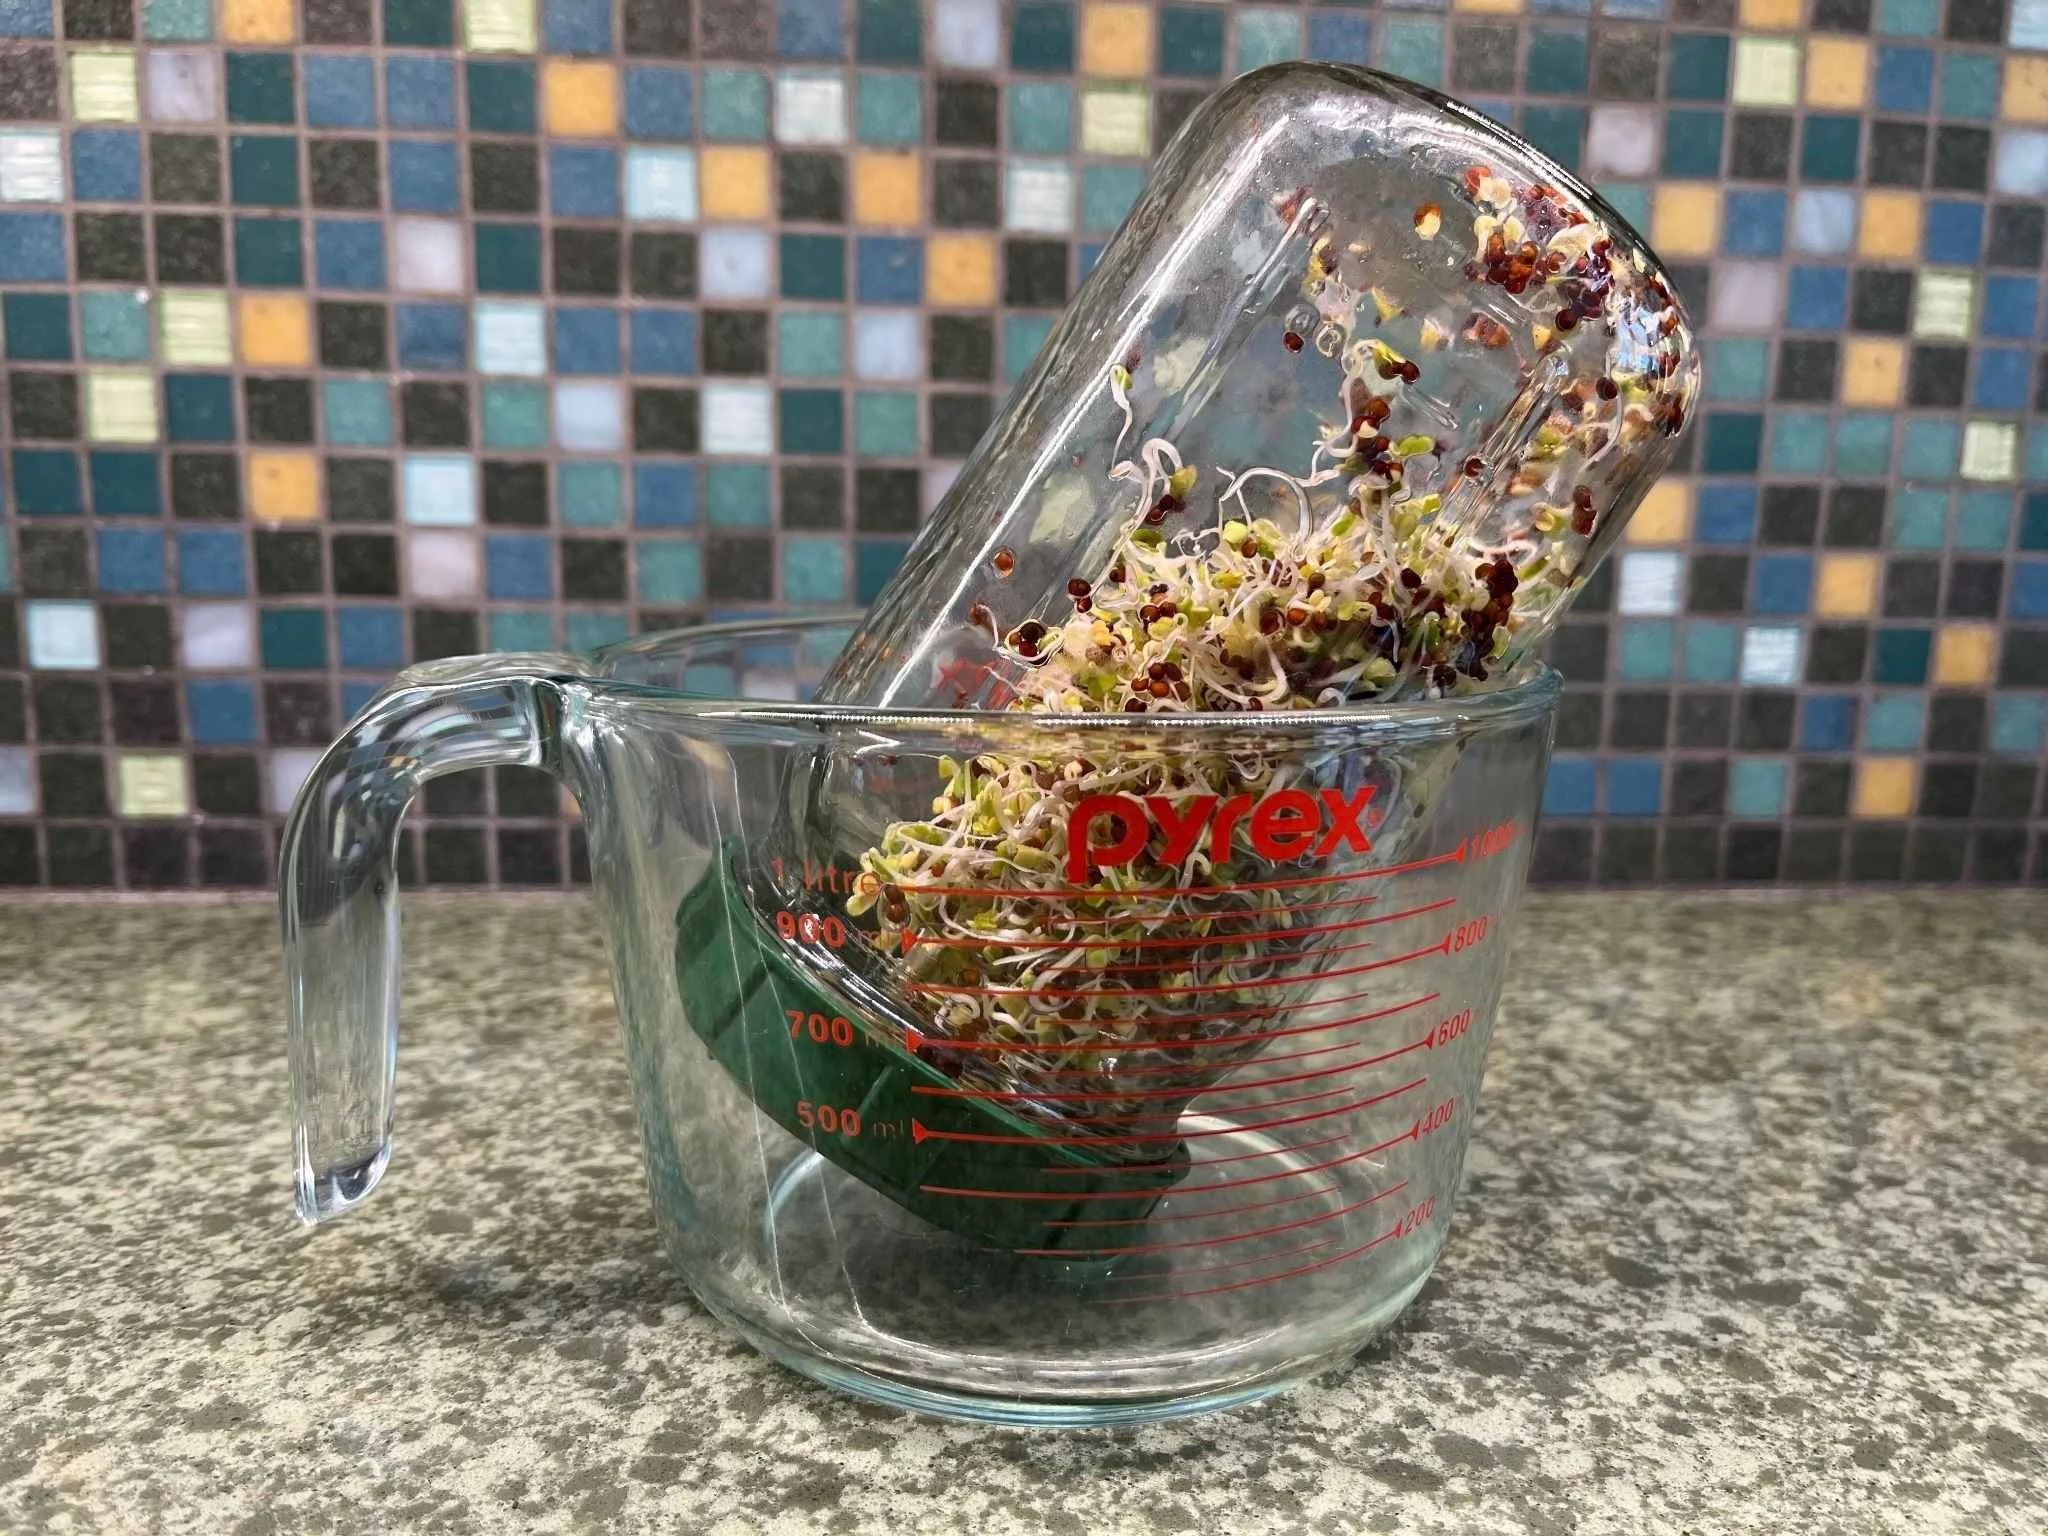
Broccoli sprouts draining after rinse.
How to Sprout in a Mason Jar
Step 1: Soak
Add 1–2 tablespoons of seeds to your jar.
Cover with water and soak overnight (8–12 hours).
Step 2: Drain & Rinse
In the morning, drain the soaking water completely.
Rinse with fresh water and drain again.
Step 3: Repeat
Rinse and drain twice daily for the next 3–5 days.
Store the jar upside down at about a 45-degree angle in a bowl or dish rack so excess water can fully drain while still allowing airflow.
That’s it.
Within a few days, you’ll see tiny shoots forming. Once they reach your desired length, give them a final rinse, dry them on a paper towel for a couple hours and then store them in the refrigerator.
How to Use Sprouts
Sprouts add texture, freshness, and a mild crunch to:
Salads
Grain bowls
Wraps and sandwiches
Smoothies
Avocado toast
Soups (added at the end)
They’re an easy way to elevate simple meals into something that feels alive and vibrant.
A Note on Safety
Because sprouts are grown in warm, moist conditions — the same environment bacteria love — food safety matters.
Here’s how to reduce risk:
Always use clean jars and equipment
Wash hands thoroughly before handling
Use seeds labeled specifically for sprouting
Rinse consistently and drain well (standing water encourages mold)
Keep airflow around the jar
Discard immediately if you notice an off smell, sliminess, or visible mold
Sprouts should smell fresh and clean — never sour. Smell them when they’re finished, and if the smell changes in a few days, compost them and start again.
I would recommend you do not prepare sprouts if you are immunocompromised. Children, elderly and pregnant women should also use caution. Sprouts are fabulous, but they are also easily prone to bacteria if not maintained properly.
Why This Matters
Growing sprouts at home reconnects us to our food in a small but meaningful way.
It’s intentional.
It’s affordable.
It’s deeply simple.
In just a few days, you witness transformation — from seed to living plant — right on your countertop.
And that tiny act can shift the way you see your meals. Even in the dead of winter, you can grow fresh sprouts on your counter and add nutrient density to your meals. Enjoy!